5 Easy DIY Ways To Upgrade Common Interior Eyesores In Your RV
One of the best parts about RV life is the ability to pack up and go whenever and wherever you want. However, life on the road isn't always rainbows and unicorns, as much as those travel vloggers will make it seem. Wear and tear happens to every rig, especially if you live full time on the road. You may also find that your original rig isn't completely what you need (like if you need to theft-proof your RV for peace of mind), and those inconveniences require some creative thinking.
As someone who grew up on the road with a huge family in a 1991 Airstream motorhome, I know firsthand how important design is, not just from a visual standpoint but also from a practical one. For example, we stashed enough shoes for seven people in a basket behind a seat when no other convenient place could be found, and we had our fair share of torn upholstery. We also learned the hard way to install rubber shelf liners in all of the upper shelves when a peanut butter jar landed on my brother's head (don't worry, he grew up mostly sane).
While the goal of RV life isn't perfection, we've gathered five easy DIY ways to upgrade common interior eyesores in your RV that come from normal wear and tear. These days, there are tons of different products on the market to help spruce up or repair your space. So, if you're sick and tired of a certain design element, maybe one of these ideas can help you out.
Cover up worn furniture
Whether your RV has cloth upholstery or faux leather, worn furniture is one of the biggest eyesores in your rig. It's one of the first things that guests will notice, and there's also a functional side of things, too. For us, our RV felt vintage, and by year four or five, the original upholstery was starting to look a little too well loved, to the point where the foam was coming out of our co-pilot seat.
One of the fastest and easiest ways to breathe new life into your RV's interior is to choose some great seat covers. Covering up the damage immediately upgrades your space, and these days, there are so many fun patterns and styles to choose from. If you're planning on purchasing a seat cover for your RV's cushions, make sure that you measure your cushions accurately — proper sizing is everything. Personally, I recommend choosing a water-resistant or stain-proof fabric, since anything can happen while you're on the road.
If cushion covers aren't an option, try hiding away the worst spots with additional pillows or throw blankets, as long as they don't get in the way of your lifestyle. Or, look into a repair kit for your rig. Amazon sells all kinds of great patches and kits for all fabric types, such as the ONine Leather Repair Tape kit, retailing for under $10 at the time of this writing. Just make sure that you check reviews with images to ensure your patch or kit will be a good color match.
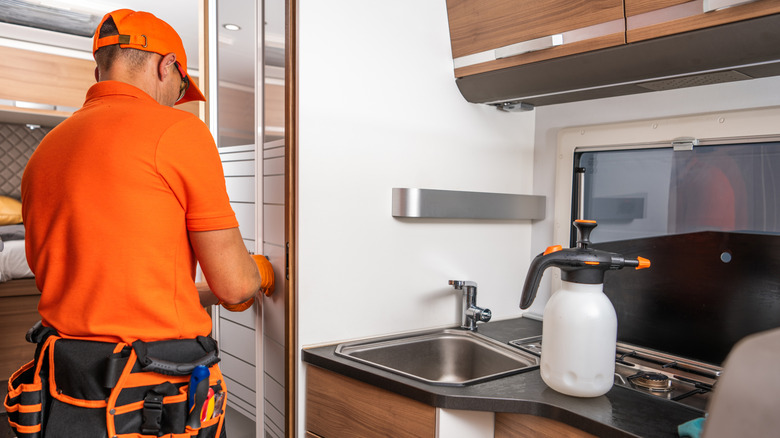
Replace peeling contact paper
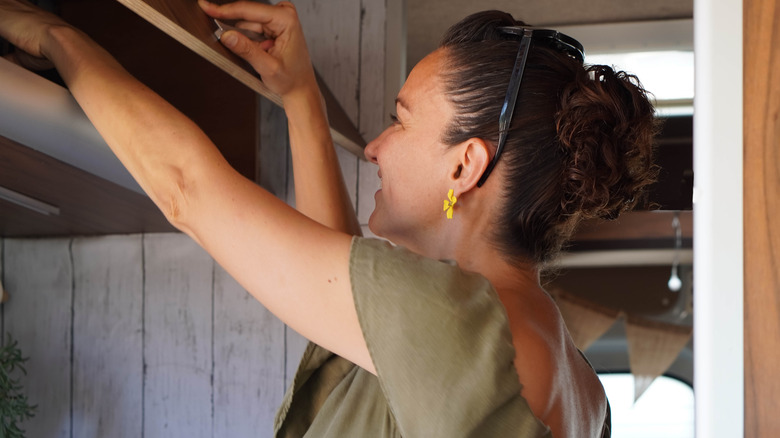
Personally, one of the most annoying parts about many RVs is the consistent use of contact paper. Oftentimes, this material doesn't really hold up to the test of time, especially when you're living in your space full time. Peeling contact paper isn't great visually, but for other people, the bad vibes come with the tactile feel of raw edges on high-contact points like drawers, cabinets, or countertops.
To keep your contact paper looking brand new, it's best to be on top of things. Gluing sections back down with a safe adhesive before they tear or become too much of an eyesore can do wonders for keeping your space looking nice. However, if you have sections that are too far gone, you may want to consider finding a patch or replacing it entirely. If this sounds like a daunting task, not to worry. I recommend following a video tutorial like this one from @LaughCryDIY that suits your project, but it really isn't as hard as it looks; it's just time consuming.
First, remove any hardware like handles and hinges. Then, use a hair dryer on the old contact paper to heat up the adhesive. This will make it super easy to peel off of your drawers or cabinets. You may have some residue underneath, but that can be scraped off with the help of some good, old-fashioned Goo Gone or similar adhesive remover spray. Choose a medium-thickness contact paper to replace it with, making sure that the size of the roll is big enough for every panel, with at least a 3-inch clearance around the edges so you can wrap things properly. Then, pre-cut your paper to size, and use a squeegee as you slowly unroll and stick so that you don't have any air bubbles or wrinkles. Then, poke any holes for your hinges, and put it all back together.
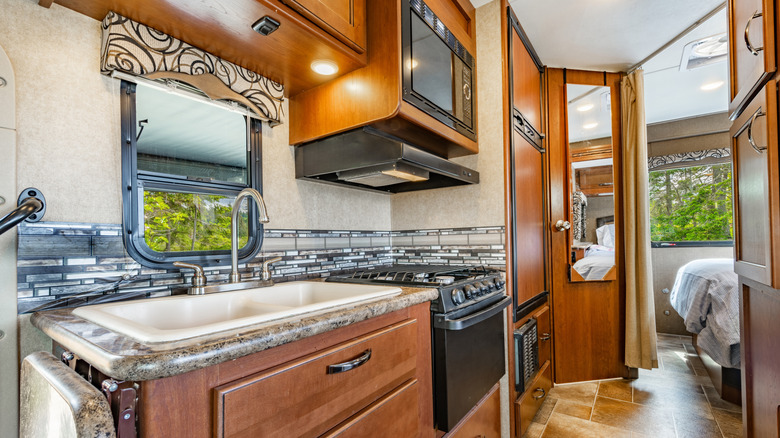
Refresh worn flooring or backsplash
Factory carpet or linoleum can get stained, matted, or worn out pretty fast. The easiest way to deal with this is to throw a fun rug over the floor. A large, low-pile area rug is a great option for RVs, and it's even better if you can find an outdoor-rated one so it's easy to shake out when you eventually track in the dirt from a whole forest.
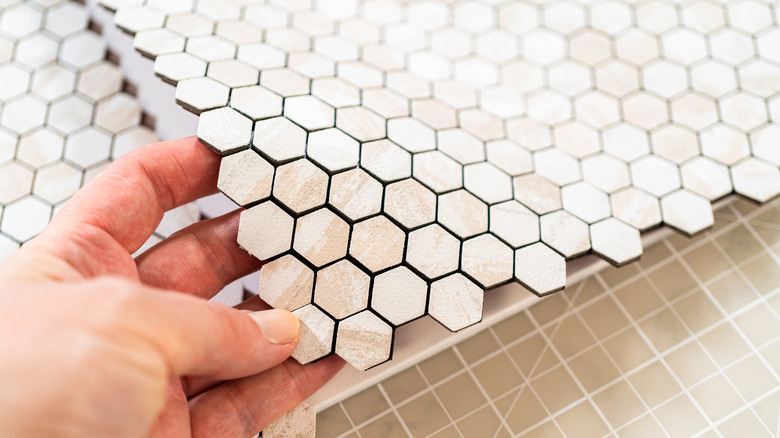
For something that feels more permanent, try some peel-and-stick tiles. This is a renter-friendly hack that translates well to RV living. These days, you can find some really cute tiles online. From subway tile to marble or even faux wood, you can find something to suit your style. Instructions can vary depending on the brand you get, but if you're worried about damaging walls or flooring underneath, you can always put down contact paper first.
If you're working with carpet that is really beat up and you want the cleanest, longest-lasting result, you're probably better off just tearing up the old carpet and replacing it the old-fashioned way. The payoff here is pretty massive: no musty smells, easier cleaning, and your rig will feel brand new. But if that doesn't appeal to you, you could try putting a layer of interlocking foam tiles on top of the old carpet before putting the new carpet tiles on top. That said, if your RV has any thresholds, just make sure that your new flooring won't exceed that height, or you may trip.
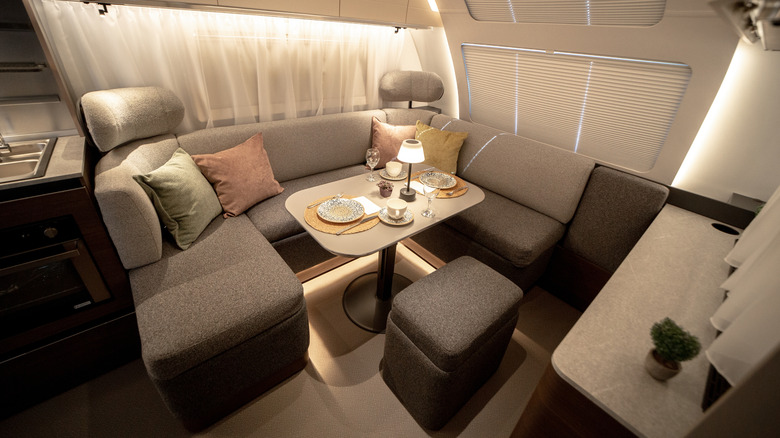
Swap out ugly bulbs or lighting fixtures
Factory lighting fixtures can be generic or bland, and the bulbs themselves can be too harsh. If you like your space during the day but think it could be more ambient during the evenings and nights, this could be the perfect upgrade for you — great lighting is an instant mood boost. However, as you consider the change, make sure you're aware of your RV's voltage system, and buy bulbs accordingly. Many RVs can only handle 12 volts instead of the standard 120 volts, and the last thing you want to do is overload your generator.
If you decide to change out your bulbs, consider using smart bulbs so you can control the lights from your phone or a remote. Color, temperature, and brightness can usually be adjusted with this kind of bulb, and some smart bulbs can even be programmed to change automatically throughout the day. For the coziest feel, go with a warm yellow or white hue, avoiding anything with cool blues, unless you want bright-task lighting.
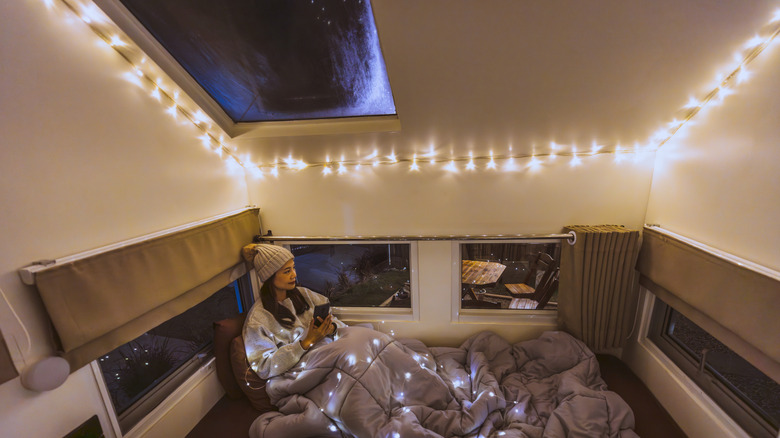
Fixtures are more fun to swap out. According to YouTuber @RoomCrush, you don't even have to stick to a 12-volt fixture meant for RVs, as long as you use 12-volt lightbulbs. That means you can buy that cute light fixture off of Amazon or from your local Home Depot and put it right in your rig. If modern offerings aren't your style, consider visiting a few thrift stores to see if there's anything quirky or vintage that suits your aesthetic. Otherwise, a string of twinkle lights or LED strip lights go a long way!
Ditch accordion doors
Many RVs are very limited in private space, and the space that you do have might have a flimsy accordion door that breaks, jams, or slides back and forth as you drive. Accordion doors look cheap and are often frustrating to use, so why bother? Fortunately, there are a couple of alternatives that look great and are functional for road life.
One of the best replacement options is a tension rod with curtains. You won't get that solid wall of privacy, but let's be real: RV life isn't for the bashful. Curtains look better, are washable, and only take a few minutes to install. For a clean, classic look, go for a lined natural linen that goes from floor to ceiling. You can even go for blackout curtains so you don't bother your RV-mates. If you absolutely need a more solid barrier for privacy or just to keep the dog out, consider upgrading the accordion door itself. There are some pretty cool options on the market today, including magnetic versions or ones with wooden panels. When you buy, be sure to measure the space for your door to ensure that it will fit inside your cubby hole.
Looking for more ideas to spruce up your RV? Try one of these essential DIY upgrades for your RV's shower or some of these game-changing RV Command Hook hacks.